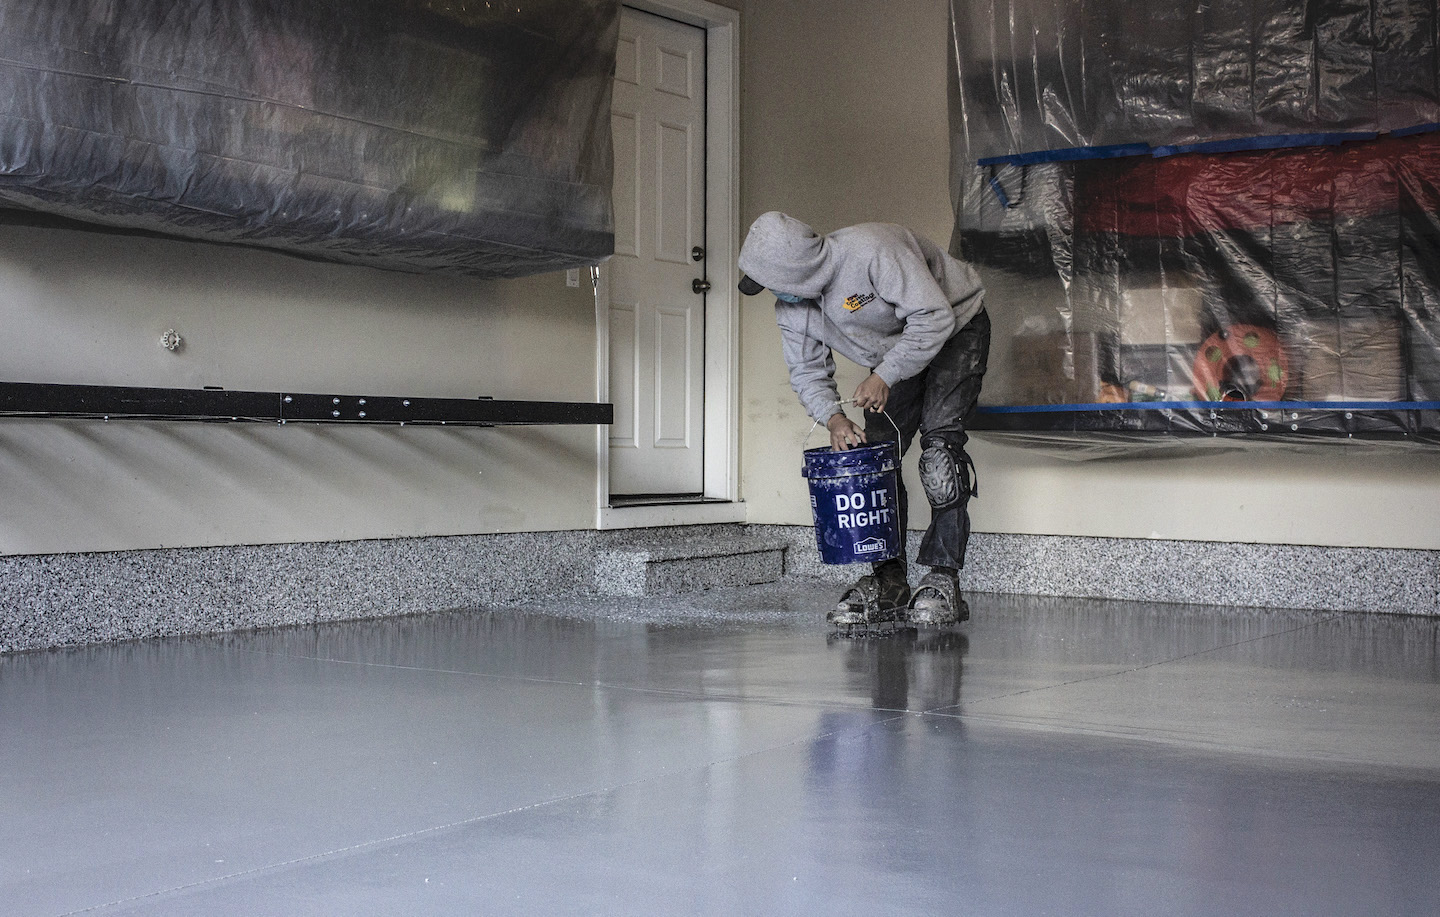
5 Cost Factors of a Concrete Coating Project
Concrete coating cost depends on five things: concrete condition, product, prep, customizations, and size. Here is what each factor does to your project price.


Are you thinking about giving your kitchen cabinets a fresh, updated look? It’s easy to imagine grabbing a brush and knocking it out over a weekend, especially with all the DIY tutorials floating around online. But here’s the deal—painting cabinets is not a quick job.
At Webfoot, we’ve seen plenty of well-meaning DIY attempts go sideways, leaving homeowners with uneven finishes, peeling paint, and the kind of regret that only comes after investing hours and a good amount of money into a project that didn’t turn out as planned.
The truth is: kitchen cabinets are a high-stakes project. They’re front and center in one of the busiest spaces in your home, and every little flaw will stand out. That’s why we always recommend hiring professionals with the tools, products, and expertise to do it right the first time. Painting cabinets, when done correctly, can be a great alternative to a full replacement, saving you time and money and avoiding the whole remodeling mess!
Let’s take a closer look at what’s actually involved in painting cabinets and why this is not the place to DIY.

Cabinet painting prep isn’t just about the cabinets—it’s about protecting the entire space.
Already sound like a lot? That’s just the beginning.
Prepping cabinets is a tedious, time-consuming process—and skipping steps here is a recipe for disaster. 80% of ANY painting project’s success depends on careful, skillful surface preparation.
Avoid tack cloths—they can leave behind a waxy residue. Use a lint-free microfiber cloth instead.
Primer is the foundation of a durable, professional finish, and skipping this step is a guaranteed shortcut to disappointment. A high-quality primer blocks stains and discoloration, creates a smooth base for the paint, and ensures adhesion to prevent peeling and chipping. Without it—or by using the wrong type—you’ll likely find yourself repainting much sooner than expected.
Painting cabinets isn’t as simple as brushing on a couple of coats and calling it done. For lasting results, it’s essential to use high-quality, cabinet-specific paint that resists chips, scratches, and wear. At least two coats are needed for solid coverage and durability. Spraying is the best approach for a smooth, factory-quality finish—but it requires professional equipment and technique. If brushing, fine brushes and precise strokes are key to avoiding marks and drips.
Paint takes time to cure—up to 30 days for full hardness. During that time, be gentle and avoid heavy cleaning or closing doors too tightly.
Don’t want to use a sprayer? We like brushes better than rollers.

Once the paint is dry, it’s time to:
We’re not here to crush any DIY dreams—but we are here to save you from DIY regrets. Painting cabinets might seem like just another painting project, but it’s far from rolling color onto a bedroom wall. Cabinets are high-use, high-visibility surfaces that require specialized tools, products, and techniques to achieve a flawless, long-lasting finish.
For starters, you’ll need the right tools—including sprayers for smooth application, sanders for surface prep, and high-quality brushes for detail work. You’ll also need professional-grade primers and paints explicitly designed for cabinets. These products dry harder, resist chipping, and stand up to daily wear and tear. Most importantly, you’ll need technical skills and patience to avoid the brush marks, drips, and uneven finishes that often plague DIY jobs.
The most common DIY mistakes we see include:
The result? Cabinets that might look okay initially but quickly show their flaws—leaving you frustrated, wasting time and money, and eventually calling in professionals to fix what’s already been painted.
Painting cabinets is an investment in your home and worth doing right the first time. A professional team brings skills, experience, efficiency, and peace of mind. So before you head to the hardware store and load up on supplies, consider whether this is genuinely the kind of project you want to take on—or if you’d rather leave it to the pros and enjoy results you know will last.
Refinishing your cabinets with stain or toner is another great option for a more natural look. It enhances the wood grain while giving your kitchen a fresh, updated style.
Your kitchen is the heart of your home—it deserves more than a DIY experiment. At Webfoot, we bring professional expertise, top-tier products, and unbeatable craftsmanship to every project.
Ready to refresh your kitchen cabinets the right way? Get in touch today to schedule your free consultation. Experience The Webfoot Way™—where quality and service always come first.